Royal Icing Transfers
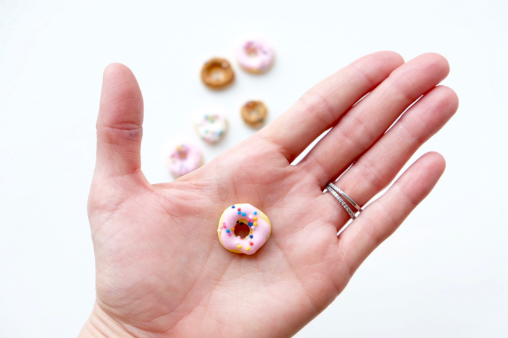
About four years ago, I launched the first ever donut sprinkle. To date, this tiny little lump of sugar and happiness is still our most popular Etsy offering.
The picture that made the internet lose its mind.
We received endless messages asking if the donuts were tiny cookies. And while making a 1/2” cookie would be insanely adorable, it would also be 10x the price. So what WAS it?
That tiny bit of happiness was just the rebranding of a royal icing transfer. That’s right. Our “sprinkles” were just transfers, as they’re known in the cookie community.
Transfers are nothing more than royal icing piped directly onto a variety of non-stick surfaces. Once dry, they’re peeled off and affixed onto the cookie, cupcake or cake…. or, if you’re like my Etsy clients, you can just pop it in our mouth “like it’s candy”.
Other than icing and a non-stick surface, all you need is time. And that’s where we run into trouble with transfers. Time is the most valuable and difficult-to-find of all the commodities. And when I say they take time- I mean I’ve had transfers take 3 days to fully dry. Who has time to plan ahead like that? Definitely not all of us procrastibakers. Yes, unfortunately-in order to be safely removed from their non-stick surface-transfers need to dry for what feels like FOR-E-VER.
Epic drying time is one factor that I think makes many sugar artists shy away from adding this cute, yet deadly, tool to their arsenal of weapons, but this fear can be remedied by investing in some insurance (more on that later).
A few other elements play a role- the consistency and freshness of the icing and even the material on which you are making the transfers- with breathable materials allowing for faster drying times than their plastic/cellulose/silicone counterparts.
Breathability as a factor is also why the same design will dry more quickly on your cookie. A baked good is porous and although it may not seem like it- that porosity speeds up the drying time from beneath. It’s why the transfers will always look dry from above, but when you go to peel them off, the bottom and inside is still soft.
The best way to remedy this problem is to invest in a dehydrator While relatively expensive compared to your average decorating gear (around $200), this machine quite literally allows you to buy time- as it shortens royal icing drying times by more than half in most scenarios, and that’s a REALLY good return on your investment. This is the exact one we use.
If investing in a dehydrator is not in the books for you right now (hey, we didn’t get ours til about a year ago!) then be sure to follow at least ONE of the following transfer golden rules:
Use fresh Icing- fresh icing has more air incorporated. All this air intermingling with the sugar and egg molecules will ALWAYS make fresh icing dry faster.
Use the thickest consistency icing you can manage- piping consistency has less water than a flood which means more body (a puffy transfer is MAGIC)- if you can manage a stiff piping consistency by jiggling as you work and working quickly- your transfers will dry much faster, will be puffier, AND are less likely to crater. Which is a triple slam in my book.
Use a porous non-stick surface- not as transparent, but if you’re doing a basic shape, like an eyeball, then way more doable.
Use a fan- We have a small one that clips onto our racks when we just need a little push on drying for the next step and the dehydrators (yes, I bought a second when I saw how they changed our ability to turn around SAME DAY orders for cookies). It will also aid you in preventing craters on cookies and transfers alike. Linked up here in our decorating-must haves Amazon shop.
Think of it like this- the above are all insurance policies, the more insurance you buy- the better off you are. So whether you have that dehydrator or not- buy multiple insurance policies. You can thank me later.
Moving on- here is my list of conventional non-stick materials from the pastry world with some less conventional surfaces which I’ve grown fond of and employ at the shop:
Parchment or Wax Paper- breathable and by far the easiest to find, though not very transparent. To prevent it from curling on you- use some masking tape to hold down to your baking sheet. BE AWARE- Parchment sheets tend to ripple and warp in dehydrators- even on the lowest setting. Avoid using in the dehydrator and instead let air dry with the help of. fan.
Sheet Protectors-yes, like the ones you’d put in a binder-easy to find, cheap and ultra transparent, though they do get dingy after a couple of uses as they are not easy to clean.
Mylar Paper- a thick plastic used with commercial grade cutting machines like Cricuts and Silhouettes. Expensive but heavy and durable with the ability of being used again and again. If you have one of these machines- then it may be something easily on-hand for you and eliminate the need to have two materials in stock.
Acetate sheets- which is what we use at the shop and here’s why. These “plastic” sheets are made out of cellulose. Cellulose is the world’s most advanced biomass material. Just like plastic, it's lightweight yet strong and very transparent, but most importantly-by using plant-based material, we help reduce our plastic waste
Non-Stick Baking Mats- these kitchen staples are composed of food-safe silicone and fiberglass mesh. The downside to this long-lasting material is that they are opaque. However, they are one of my kitchen must haves as they can be used endless amounts of times for a plethora of baking/cooking purposes. I’ll talk more about them and the ones we carry in our post about baking and cookie decorating must-haves, but in the meantime here are ours.
A Laminated Transfer Template- while at first glance, a laminator may not seem like a necessary tool for cookie making, the fact is if you have shapes you regularly make, watercolor ovals for your PYO’s for example or Christmas wreaths for your gingerbread houses or doors, like the ones below- printing them and laminating saves time- then laminating those templates saves you time and effort as you can pipe directly onto the laminated sheet- just be sure to tape it to whatever surface it will be drying on (more on laminators and other unexpected office supplies turned cookie tools linked up at the end of this post).
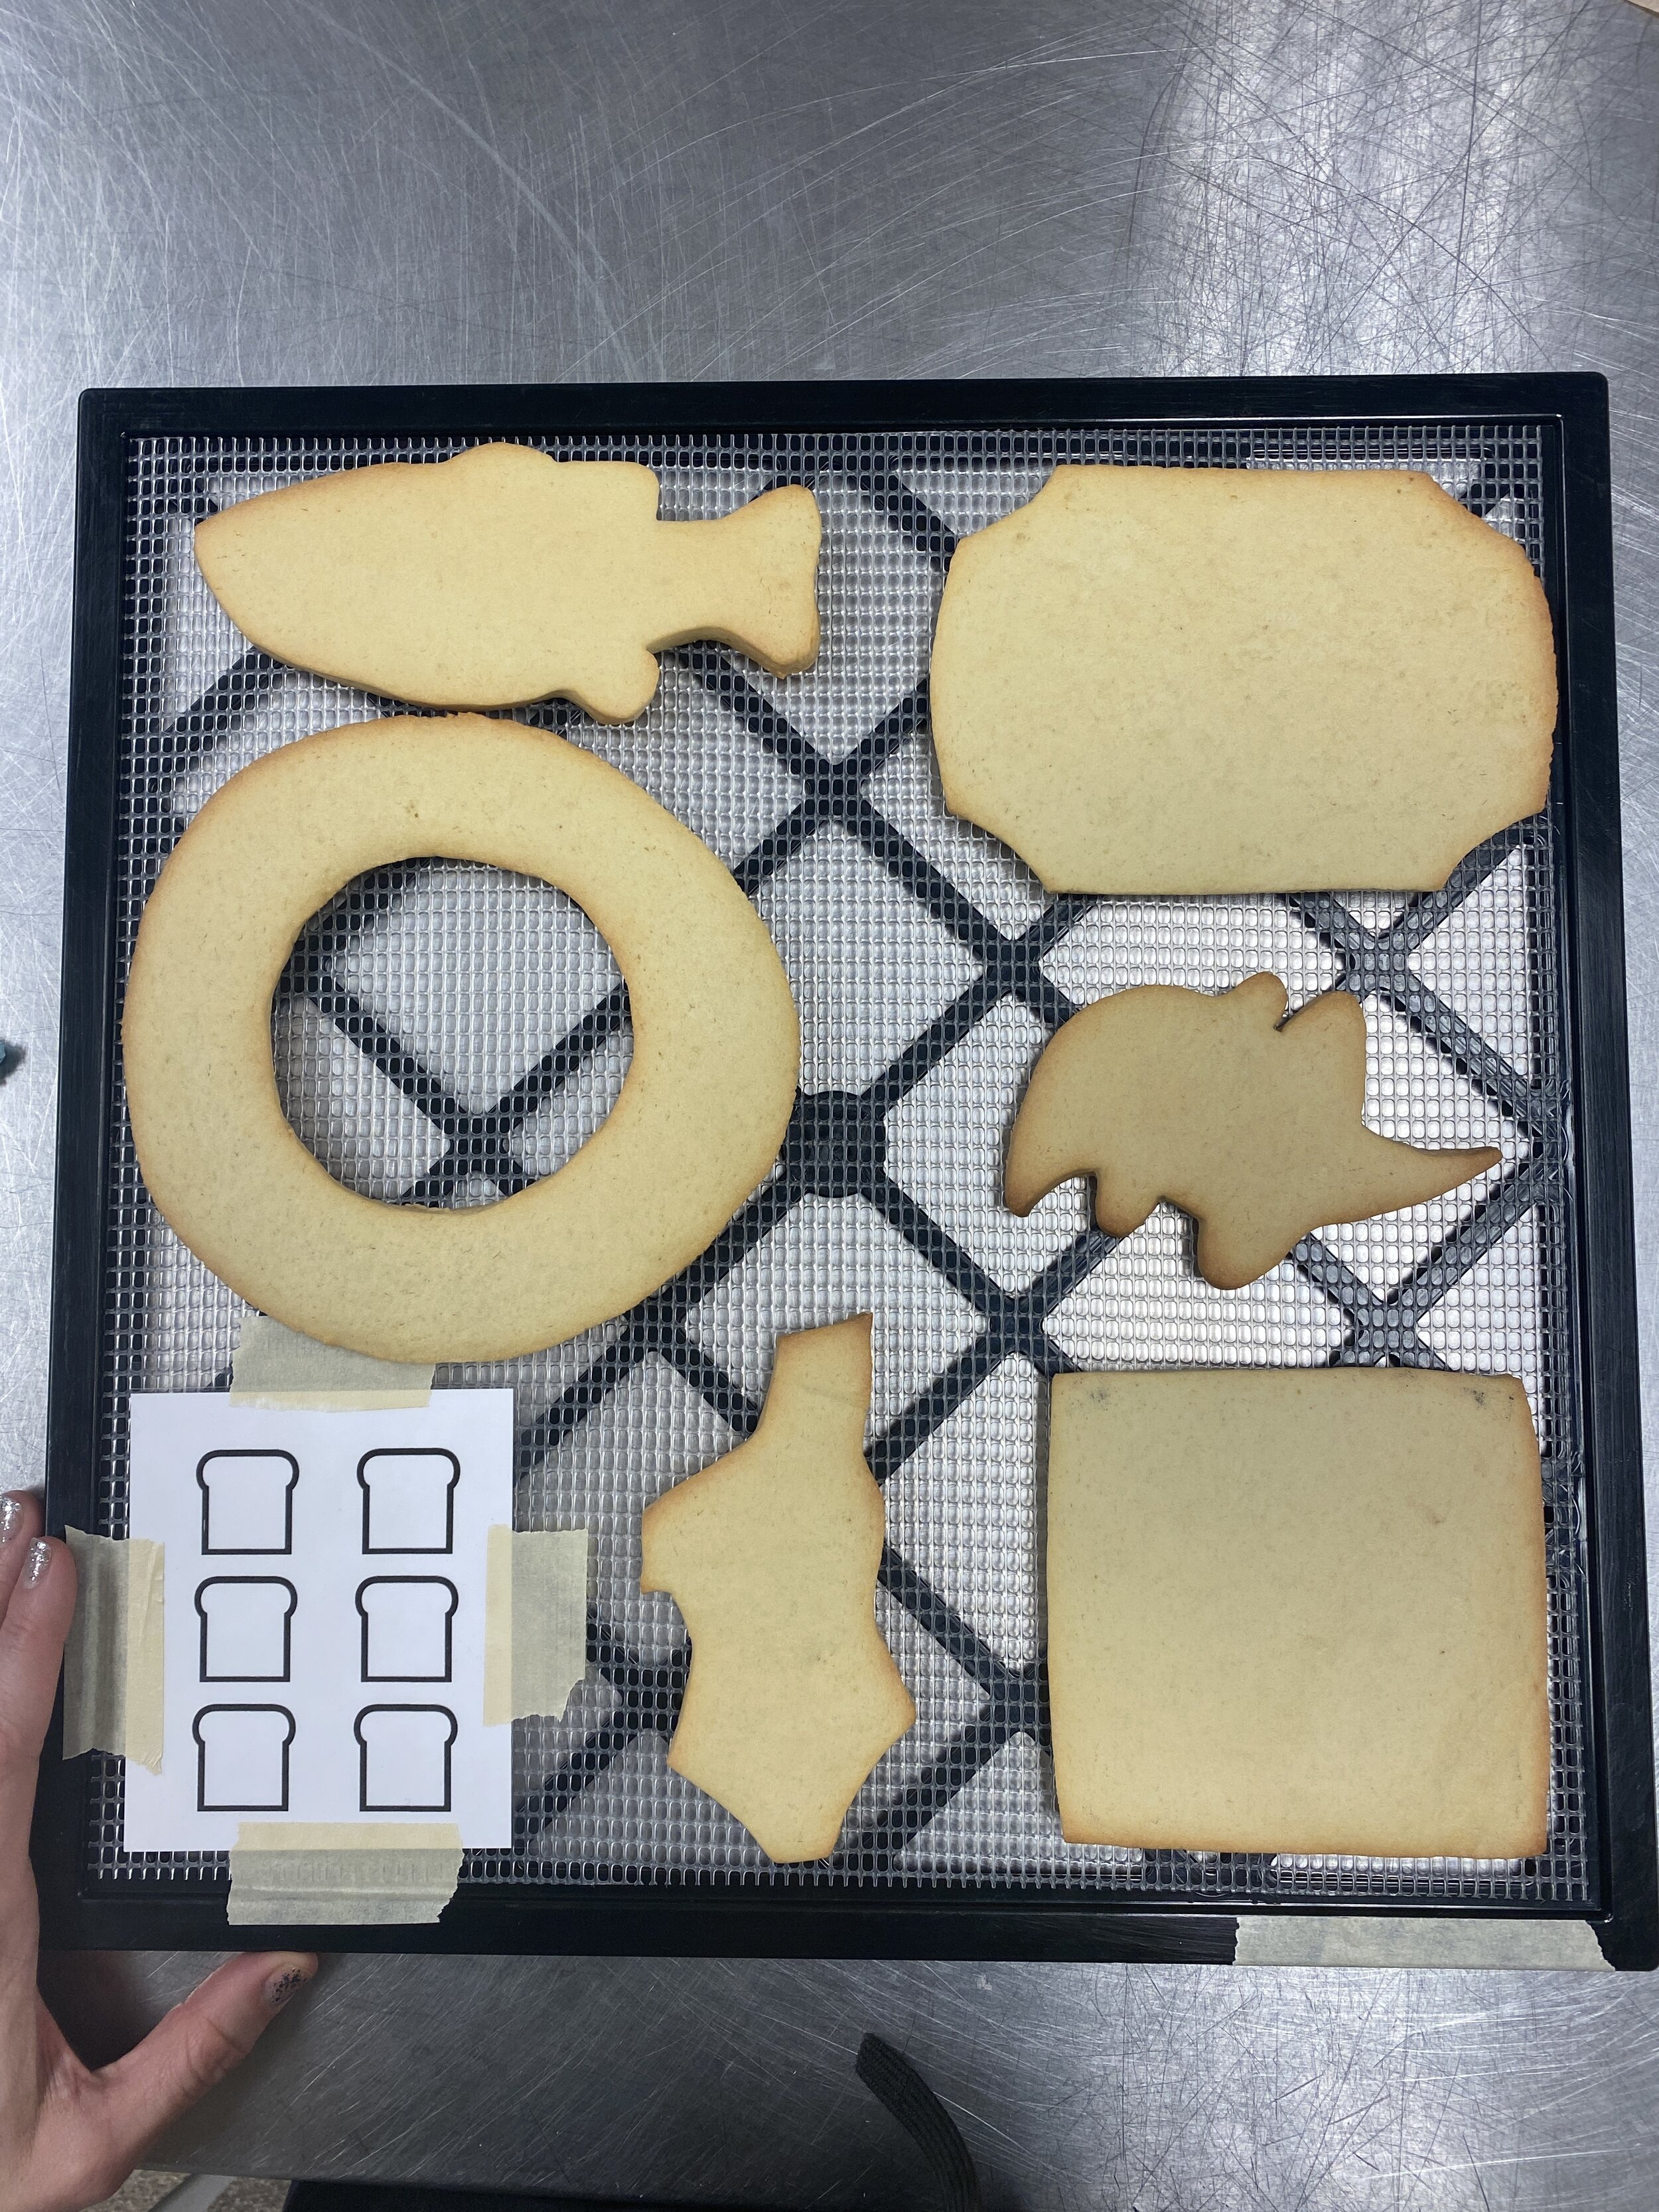
This is a laminated set of our best friend tic tac toe peanut butter and jelly bread slices (what a mouthful LOL). We provided each student in our full-day cookie con classes this full set of cookies and the chance to work on their own transfers by taping them to a dehydrator sheet and making it the very first step we work on in the day. 8 hours later- they’re fully dry!
Our gingerbread houses and villages require massive amount of detail like wreaths. Here you can see how our staff member Betty pipes them onto an acetate sheet taped onto a dehydrator tray.
Every single one of the windows in our Harrod’s scaled replica is a transfer. It allows us to construct the structure and then place the details- sometimes on-site for an added touch of glamour to an event.
Now, if you find yourself asking- but why not just pipe this directly on the cookie where it will dry faster and not require any of the above items- then you’re in the right place. You should always question and test theories and ideas- you’ll find it will either prove it’s the best way or teach you a new way of doing something. Lucky for you- I’m giving advice based on years of tested, tried, and true methods. So here are a variety of reasons why transfers are a worthy tool for your cookier tool belt:
They’re waaaaaay easier than piping directly into the cookie since you can pipe using a template- ensuring each one of your “sprinkles” is identical. Like a projector but without having to turn off all your lights and work in the dark
It’s the best and easiest way to pipe clean shapes onto a bumpy or uneven surface.
To extend past the confines of the edge of a cookie. Precarious, but beautiful and works for food styling
To add a small bedazzled touch, since the transfer can be dusted all on its own allowing you to place a glittery bow on your cookie- without making the entire cookie sparkly
As a money saver since anything that is made in assembly-line kind of clusters saves you time and time=money
Transfers can be made ahead of time in bulk and saved for months
A great way to add detail to a cake without investing in fondant, gum paste, or molding chocolate.
They make complex designs taught in a creative classroom setting achievable- we often want to teach more complex designs, but even with a dehydrator, drying time is an ever-present factor when it comes to what we can teach. By using transfers, as you can provide your students with a pre-made way of adding detail in a short span of time and allowing
them to achieve a more impressive design.
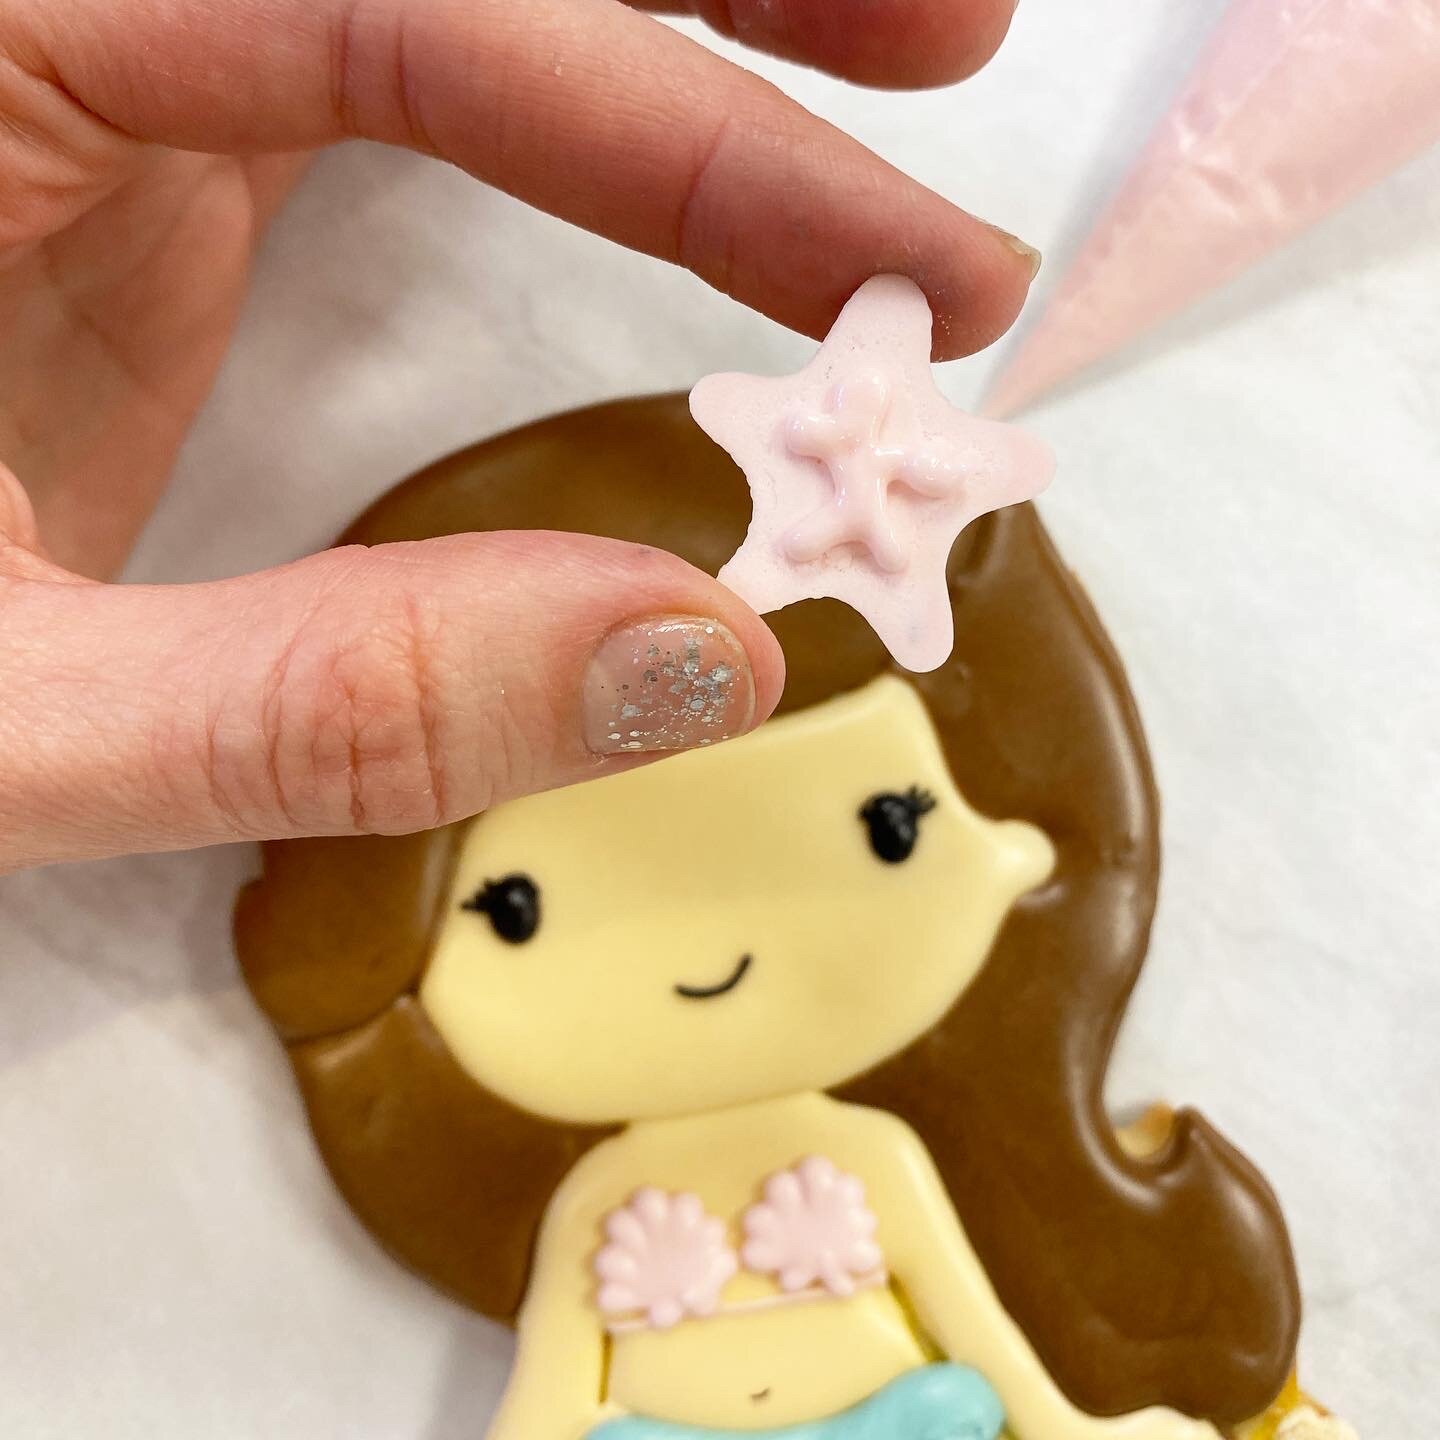
Their uses are really endless. Once they’re ready- you just attach with a little piping consistency icing and you’re done! Here are a couple of shots illustrating that, with a free transfer template download for the seastar below to reward you for reading this far!
Remember Elmer’s glue from grade school? A little goes a long way here! Don’t add too much or it will squish out of the sides.
I also used transfer’s for Jula the Mermaid’s bikini top. Students in my class get to decorate the whole mermaid and then either have the choice to use the provided premade transfers or pipe it on directly (spoiler alert: no one chooses option two!)
So how about you guys and gals? Do you use transfers? If so- is the reason listed about or is there yet another great reason?
If you haven’t used them, or tried and “failed”- then I hope I’ve given you enough tools and reasons to try and SUCCEED. My goal is always to help you work quickly and efficiently in order to reduce frustration and increase productivity.
Are you a visual learner? Watch our video tutorial below on much of what we talk about in this post.
FINALLY- and as promised, your reward! Click here for a free transfer template.
Now go out there and make the world’s cutest sprinkles and don’t forget to tag @tinykitchentreats so I can feel proud and help you troubleshoot!
xx
Marisol


